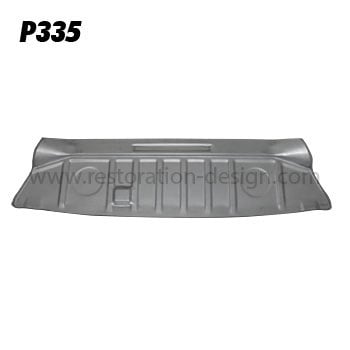
How-to 914: Rear Trunk Floor Pan Install

Ever wonder how to install a rear trunk floor pan in a 1973 Porsche 914? In this video, the guys at Restoration Design show you just how to do that.
As always, we recommend doing a lot of the prep work before starting on the installation itself. We’ve drilled out all of our welds, ground down the steel and prepped it with weld-through primer.
It’s also worth mentioning that we coated the inside of the transaxle support channel with POR-15 to help reduce any potential future rust.
We also recommend prepping the floor pan itself by punching holes for the rosette welds and do any necessary trimming to get it the size you need for you specific car.
Next, put the piece in place in the car so you can scribe your line and cut the existing piece to fit the replacement piece. Then, using self-tapping screws, put the piece in place and use your hammer to make any necessary adjustments for fit.
After this, you need to make sure your trunk support fits properly. Using the two holes on either end of the trunk support, make sure at least one of them lines up with the floor pan.
Once you have a nice fit, go ahead and weld in your trunk pan. When doing your rosette welds, make sure to leave enough space between the welds to keep the temperature of the steal down. Then, roll the car over and take care of your sway bar mounts.
You always want to make sure the measurement from centre to centre of the sway bar mounts matches manufacturers’ specifications. If your 914 didn’t come with sway bar mounts, as some of them don’t, make sure you’re installing them properly as they’re essential.
Get more details about this installation and see the finished product in the video below!

Comments
Be the first to comment...